Screen recording is one of the most demanding features for the tech experts, gamers and professional YouTubers to record their gameplays and tutorials. Screen recording allows you to record directly from the screen by keeping all the activities happening on the screen in one video.
People can record video using screen recording utility of Windows 10 called Xbox Game Bar
Benefits for Windows 10 users as it comes with an inbuilt screen recording feature named Xbox Game Bar. With the help of this utility, one can quickly screen record for tutorials, gameplay or daily streaming.
Follow the steps below to start your screen recording by using Xbox Game Bar:
- Open the particular App or game that you want to record, and then press the Windows key and the letter G together to open the Game bar.

- You will see a checkbox beside “Yes, this is a game”, check it whether you want to record gameplay or any other app’s tutorial.
- Click on Start Recording to start capturing. (or, Win + Alt + R)
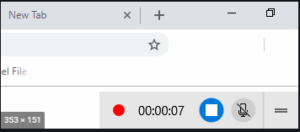
- Stop recording when you need by clicking on the red bar with the recorded time showing. In case it disappears, press Windows + G again to bring the bar back.
You can find your recorded videos in MP4 format saved in ‘Capture’ folder which is a subfolder of the ‘Videos’ folder.
Alternative to Xbox Game Bar
Xbox game bar might provide a handy screen recorder with internal audio in Windows 10; but does not provides any option to edit it further, so the user is unable to retouch the video directly. The best alternative to Xbox game Bar that provides the solution is Wondershare DemoCreator. This allows you to screen record and even edit the recorded video. Its advanced settings help the user to record the videos in multiple modes and also from the webcam, so the user is open to multiple options that can be used to create better videos. It is easy to use and fulfils the requirement for everybody.
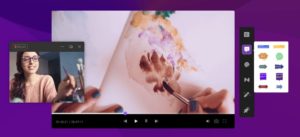
Follow the steps below to record videos by using WondershareDemoCreator:
- Install the free app in your computer and open it.
- Select “Capture”, a red button to start recording and set the parameters first. There you will find a window of settings. You will find four tabs, Screen, Audio, Camera and Advanced.
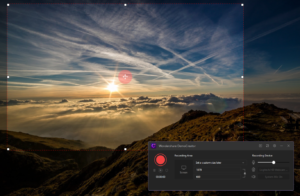
In Screen, you can choose special regions to record whether full screen or not. Also, try to indicate if you are recording a game to get the best frame rate and clarity.
The Audio setup allows to record audio from the computer and even from microphone which is pretty neat and helpful.
Now if you are trying to record from your webcam, you can choose the resolution and frame rate from camera setup.

The Advance setup allows you the select your file quality, format and location.
- Now that the parameters have been set you can start recording by clicking on the record button or press F10 button. To stop the recording, do the same.
- In case you want to pause your recording click the Pause button or press F9 button. To resume the recording again, do the same.
- After the recording is done the file will be saved in your destined location.
Video editing
To edit the recorded videos by using Wondershare DemoCreator, you can start right after recording, or you can even import the previously recorded file and edit it here. To know how to edit the videos, you need to understand how to use the following features:
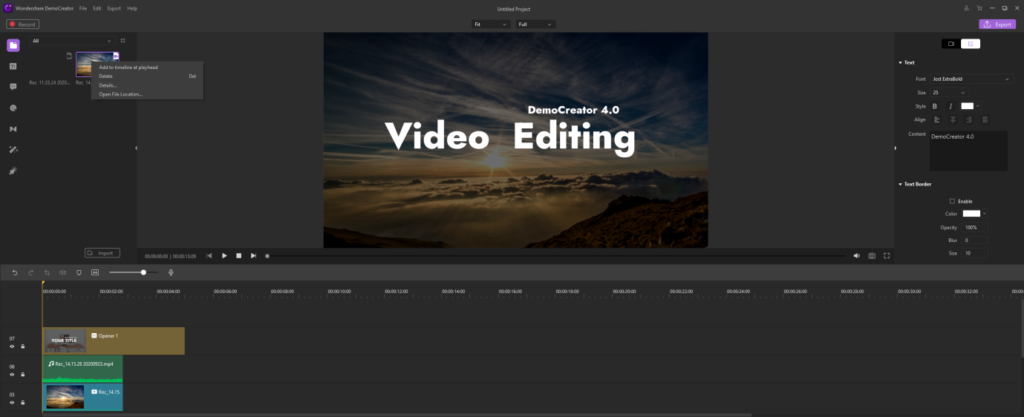
Add Media – You can simply drag and drop the media file from your media library to add it to the timeline or right-click on it to ‘Add to timeline at playhead’. Reposition them as per your need.
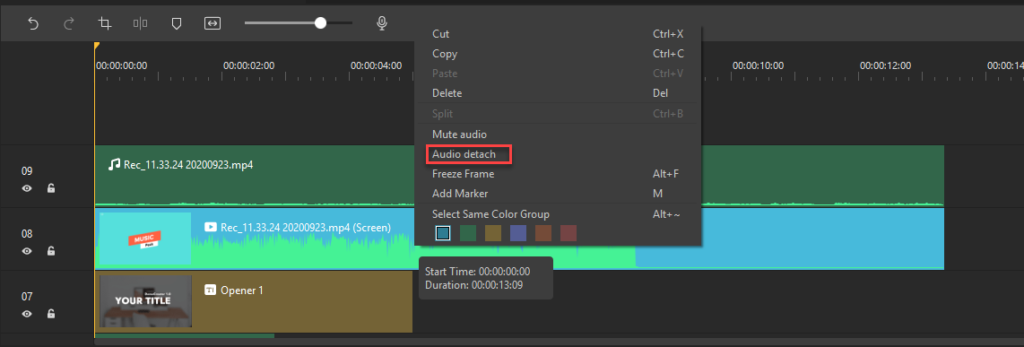
Audio Edit – By right-clicking on the video, you will see two options in the panel, Mute audio and Audio Detach. You can mute the audio to editing it otherwise detach the audio file from the video to edit. It will automatically have placed in the upper track.
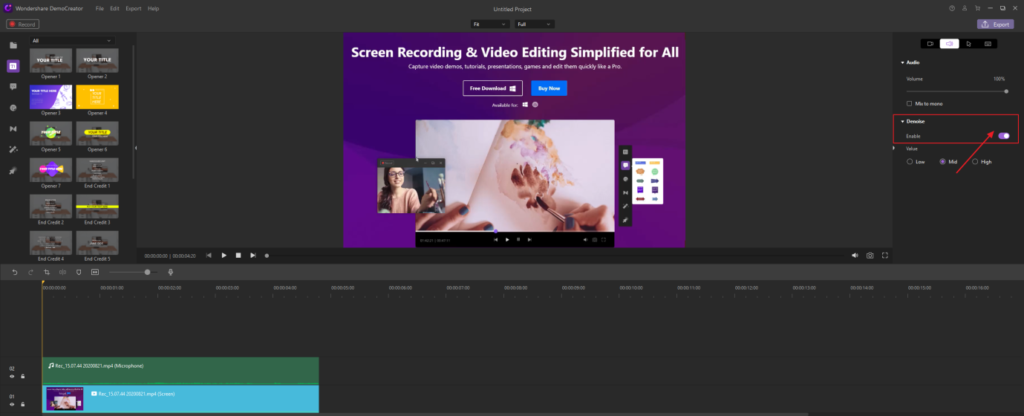
Denoise – click the Audio icon from the top right and check the Enable checkbox to filter all the background noises to provide clarity.
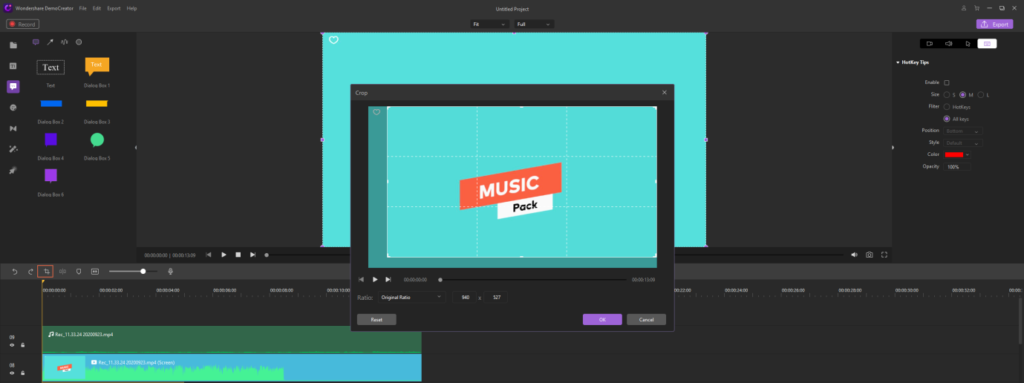
Crop, Resize and Rotate Videos – Resize and rotate comes under the visual property. You can resize by changing the scale percentage. Rotate the video by clicking and adjust the rotation. To crop, you need to click on ‘Crop’ and adjust the border to get your required cropped size and apply it.
Trim – Trim your videos by dragging the line on the bar below the video. Adjust to your required footage and make a clip.
Split Video – You can split the videos into two separate videos by editing them separately, and then simply right click on the desired video. You’ll find an option ‘split’ from the panel. Select it and place it on the playhead.

Cursor effect – Usually when you work on a screen recorded video, the mouse pointer or the cursor plays a vital role, so make sure you use the cursor effects to add your videos a more viewer-friendly touch.

Annotation and Transition – You can add annotations as in writings, callouts, highlight or symbols to give your video an interactive flavour, so the user finds it pleasurable to watch. Add different transitions between your clips like fade in, fade out etc. to keep the continuity and flow of the video.
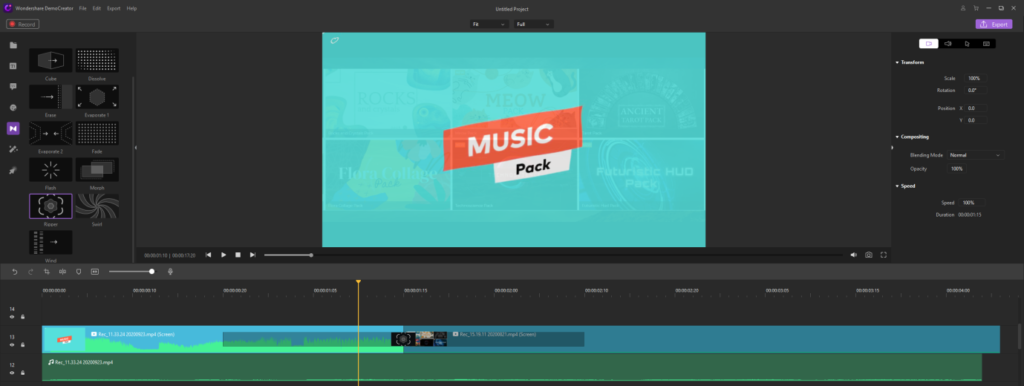
Effects – Wondershare DemoCreator provides three usual effects like Green screen, Cinema 21:9 and Mosaic. The green screen effect can be used for animation as it removes or replace all the background to keep only the characters. The cinematic aspect ratio and the soothing colour is provided by Cinema 21:9. Mosaic provides a blur effect on a specific region in case you need to hide something in the video (like face, name or personal data).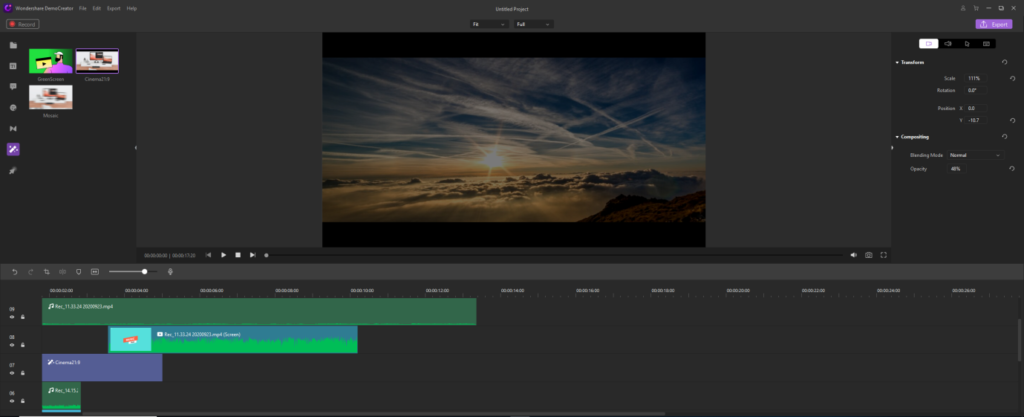
Overall, having a good screen recording software for Windows is quite important to create videos. Using Wondershare DemoCreator can help record screen and edit your videos. You can give it a try and find more interesting features when using it.

